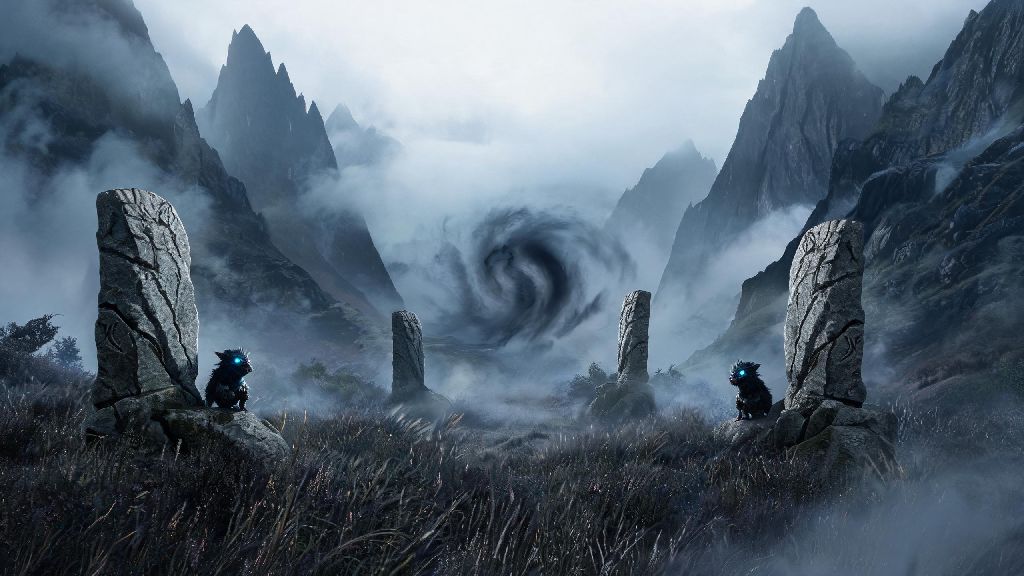
If you’ve spent hours wandering the mist-shrouded mountain peaks of Where Winds Meet, you’ve probably stumbled on a vague quest marker that leads you straight to Where Winds Meet Her Legacy quest. I almost skipped it entirely on my first playthrough, assuming it was just another short fetch quest, but it’s easily one of the most rewarding side activities in the entire game. It unlocks a rare permanent stat boost, a unique cosmetic outfit, and even ties up loose ends for one of the game’s most beloved side characters. Don’t make the mistake I did of rushing through it without prepping first, or you’ll end up backtracking across three different regions just to grab one missing item.
What to Prepare Before Starting Where Winds Meet Her Legacy Quest
You don’t need to grind for dozens of rare items to start this quest, but a few simple preps will cut your completion time in half and save you a ton of frustration. First, make sure you hit minimum character level 32 before you start. The enemy encounters along the quest route are scaled to level 30, and even common frost wolves can one-shot you if you’re under level 28. I tried to start this quest at level 29 on my first run, and I died three times just trying to climb the first mountain path, so wait until you hit that level threshold if you can.
You’ll also want to stock up on 3x cold resistance potions before you head up the mountain. The entire first half of the quest takes place in the frozen northern peaks, where you lose 5% of your stamina every 10 seconds if you don’t have cold resistance active. You can buy these potions from the merchant in the village at the foot of Windspire Peak for 15 silver each, or craft them if you have the frost thistle and honey ingredients. I forgot to bring these on my first attempt, and I had to trudge 20 minutes back to the village to stock up mid-quest, so don’t skip this step.
Last, make sure you have unlocked the glider tier 2 before you start. Halfway through the quest you’ll need to cross three deep ravines that you can’t climb around or jump over, and a tier 1 glider doesn’t have enough range to make it across. If you haven’t upgraded your glider yet, you can do so by bringing 10 eagle feathers and 20 iron ingots to the carpenter in the main town, it only takes a few minutes to complete the upgrade request.
Step-by-Step Walkthrough for the First Half of the Quest
To pick up the quest, head to the small village at the southern foot of Windspire Peak and talk to the old weaver sitting on the porch of the largest wooden house. She’ll give you a dented brass locket that belonged to her daughter, who went missing on the mountain 10 years prior while searching for a rare healing flower. The quest marker will lead you up the main mountain path, but there are a few important details the game doesn’t tell you.
Don’t veer off the marked trail for the first 20 minutes of the quest, even if you see tempting collectibles off to the side. The unmarked areas of the mountain have random avalanche triggers that will knock you all the way back to the village, and you’ll lose all progress you made up the path. I learned this the hard way when I tried to grab a rare ore vein off the side of the trail, and I had to restart the entire first section of the quest.
When you reach the first abandoned camp site, you’ll find a tattered journal on the ground next to a half-burnt campfire. Read it to unlock the next objective, which is to solve the stone pillar puzzle at the top of the nearby ridge. The game gives you no hint for how to solve this puzzle, but the trick is simple: watch the direction the snow is blowing, and turn each pillar to face that same direction. There are three pillars total, and once they’re all aligned correctly, a hidden cave entrance will open in the side of the ridge.
Hidden Collectibles and Secret Rewards You Might Miss
Most players only complete the main objectives of the quest and miss the three hidden collectibles that unlock the quest’s best reward: a permanent 20% frost resistance buff that works in all cold regions of the game. These collectibles are easy to miss if you’re rushing through, but they only take a few extra minutes to find if you know where to look.
- Frayed hair ribbon: Found under a loose stone at the first camp site, right next to the abandoned backpack. You have to crouch to see the prompt to pick it up, since it’s partially covered by snow.
- Carved wooden bear: Hidden in a tree hollow halfway up the second cliff face, just to the left of the glider landing spot. You’ll see a small blue ribbon tied to the tree branch above it to mark the spot.
- Handwritten love letter: Tucked inside the cover of the journal you find in the final cave, right before you talk to the spirit of the weaver’s daughter. You have to flip through the journal pages three times to get the prompt to take it.
Once you finish the main quest, take all three of these collectibles back to the old weaver in the village. She’ll thank you for giving her closure about her daughter’s fate, and she’ll give you two exclusive rewards: the permanent frost resistance buff, and a hand-stitched wool cloak that boosts your stamina recovery by 15%. Both of these items are incredibly useful for exploring the northern half of the game map, so it’s well worth taking the extra time to find the collectibles.
How to Beat the Final Guardian Encounter Without Wasting Resources
When you enter the hidden cave behind the stone pillars, you’ll be faced with the Frost Warden, a level 34 spectral guardian that protects the final resting place of the weaver’s daughter. A lot of players waste all their best healing potions and rare fire ammo on this fight, but there’s a simple trick to make it almost effortless, no rare items required.
First, stand near the lit braziers around the cave whenever you need to warm up. The Frost Warden’s ice attacks stack a slow debuff that makes you unable to dodge or run, but standing next to a lit brazier will clear the debuff in two seconds. You don’t have to chase the Warden around the cave; just stay near a brazier and wait for it to come to you, and you’ll avoid taking almost all unnecessary damage.
The Warden’s only weak spot is the glowing blue crystal on its chest, so aim all your heavy attacks there to deal double damage. You don’t even have to kill it entirely, either. Once you get its health down to 30%, it will recognize the locket you’re carrying and stop attacking, letting you pass into the final room peacefully. I wasted all my fire arrows on this fight on my first run, only to realize it stops fighting halfway through, so save those arrows for later boss fights where you actually need them.
At the end of the day, Where Winds Meet Her Legacy quest is more than just a simple side activity. It’s a heartfelt story that adds a lot of depth to the world of the game, and the rewards are more than worth the couple of hours you’ll spend completing it. Don’t rush through it, take the time to look for the hidden collectibles, and you’ll walk away with some of the most useful buffs and unique cosmetics in the entire game. If you get stuck on any part of the quest, just refer back to these tips and you’ll be done in no time.