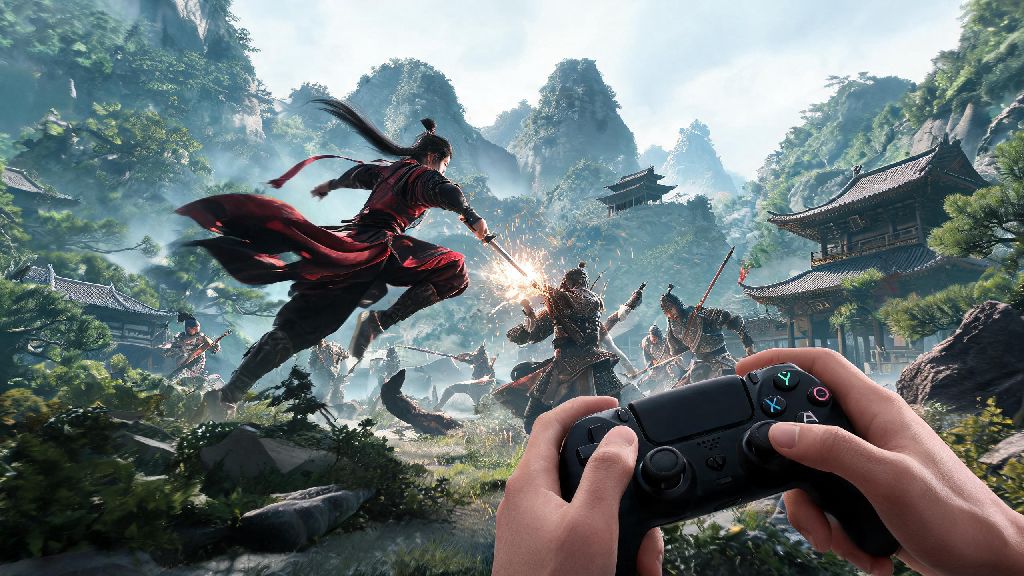
I spent my first 10 hours playing Where Winds Meet fumbling with clunky camera settings, unresponsive combat inputs, and a HUD that blocked half the screen during tense boss fights. It wasn’t until a friend shared their custom setup that I realized I’d been missing out on one of the game’s most underrated quality of life features: where winds meet presets. These pre-configured setting bundles take the guesswork out of tweaking everything from graphics performance to combo input timing, so you can spend less time in the settings menu and more time exploring the game’s stunning wuxia open world. Most players don’t even know these presets exist, or how to adjust them to fit their playstyle, but this guide will walk you through everything you need to know to start using them today.
What Are Where Winds Meet Presets, and Who Should Use Them?
If you’ve never messed with custom settings in games before, you might assume presets are only for tech-savvy players or competitive grinders, but that’s not the case at all. Presets are saved collections of in-game settings that cover graphics, audio, controls, HUD layout, and even combat input mapping, all packaged into a single file you can load in seconds. You don’t have to build one from scratch either, hundreds of trusted community members share their own tested presets for free online for every type of playstyle.
New players benefit most from presets because they skip the tedious process of tweaking 20 different settings just to make the game run smoothly on their PC or feel comfortable to control. Even veteran players use them, though, to switch between setups for different activities in seconds. For example, you can have one preset for casual exploration, another for high-stakes boss fights, and a third for streaming, so you don’t have to manually adjust 15 settings every time you switch what you’re doing. The only players who might not need presets are those who already have a fully customized setup they’re 100% happy with, but even those players can benefit from testing community presets to find small tweaks they hadn’t thought of before.
Top 3 Preset Types to Test for Your Playstyle
There are dozens of custom presets shared by the community, but most fall into three core categories that fit 90% of players. You can test one from each category to see what fits best, or mix and match features to make your own custom version:
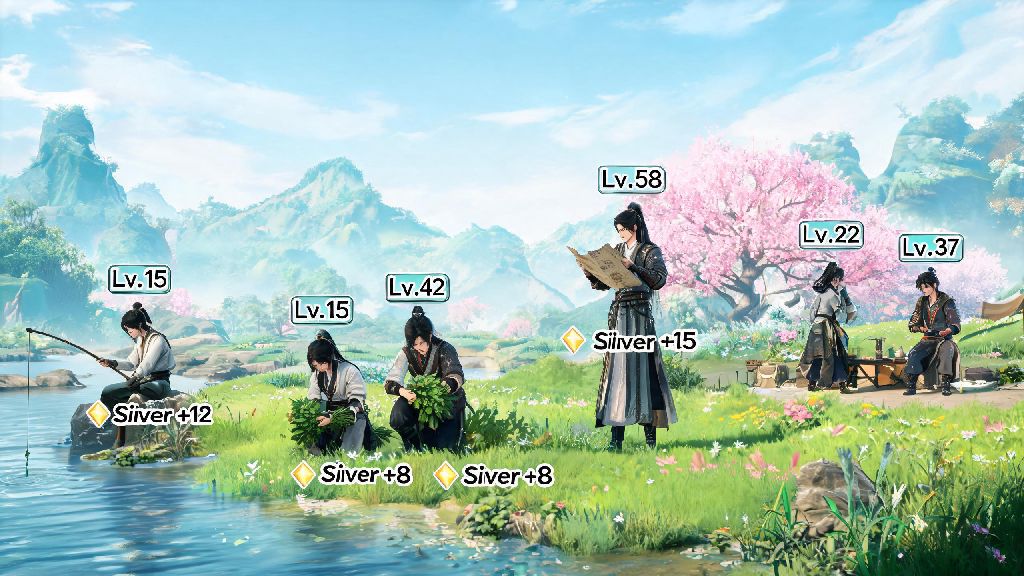
- Performance & Accessibility Presets: These are designed to cut down on unnecessary graphical effects without ruining the game's art style, and often include larger HUD text, simplified input prompts, and reduced camera shake for players with motion sensitivity. I use these when I'm streaming on my older laptop, and they boosted my FPS from 28 to a steady 60 with almost no noticeable drop in visual quality. Many also include options for colorblind filters and adjustable input delay for players with mobility impairments.
- Combat & PvP Presets: These prioritize low input lag, clear enemy hitbox indicators, and streamlined combo mapping so you don't fumble with buttons during intense 1v1 fights or boss battles. Many of these presets also turn off non-essential HUD elements like side quest notifications so you can focus entirely on your opponent's moves. Some even adjust the audio mix to make enemy attack cues louder than background music or ambient noise, so you can react faster to unblockable strikes.
- Exploration & Roleplay Presets: These crank up the game's graphical settings to show off its dynamic weather, detailed landscapes, and cinematic camera angles, and often turn off immersion-breaking HUD elements like mini-maps and quest markers. I keep one of these saved for days when I just want to wander the world and stumble on hidden secrets instead of grinding main story quests. Most of these presets also adjust the in-game photo mode settings to make capturing cinematic shots of your travels even easier.
How to Install and Customize Community Presets Safely
Most presets you'll find online are shared by active community members, but you need to be careful to avoid files that could mess with your game save or contain malicious content. Only download presets from trusted community hubs that have moderation teams vetting uploads, to avoid corrupted files or programs that could harm your device. Avoid random download links from social media comment sections, as these are far more likely to be unsafe.
Installing a preset is far simpler than most people think. Once you download the preset file, you just drop it into the game's "Saved Settings" folder in your local files, then boot up the game and select it from the presets menu in the settings tab. The whole process takes less than two minutes, even if you’ve never edited game files before. You don’t have to use a preset exactly as it's shared, either. For example, I love the combat preset I downloaded, but I turned the camera sensitivity down 20% because it was too jittery for my playstyle. You can tweak any individual setting after loading a preset, and save your adjusted version as a new custom preset for later use.
One small but important tip: always back up your existing settings before loading a new preset, just in case you don't like it and want to switch back without redoing all your old tweaks. You can do this by making a copy of your current "Saved Settings" folder and storing it on your desktop before you add the new preset file. It takes 10 extra seconds and saves you a ton of frustration if you end up hating the preset you downloaded.
Common Mistakes to Avoid When Using Presets
Even if you download a highly rated preset from a trusted creator, there are a few common missteps that can make your gameplay worse instead of better. First, don't use a preset built for a different platform. A preset made for the PC version of the game won't work right on console, and can even cause crashes if you try to load it. Always check that the preset is made for your specific platform and game version before you install it, as patches can change how settings work and make older presets incompatible.
Second, don't load a new preset right before a high-stakes fight, like a boss battle you've been trying to beat for hours. Test it out in a low-stakes area first, like a beginner enemy camp or open field, to make sure the controls and settings feel right for you. I made this mistake once, loaded a new combat preset right before fighting the final boss of the main story, and realized the combo inputs were mapped completely differently than I was used to, leading to three instant deaths before I could switch back. It’s a small step that saves you a lot of wasted time.
Third, don't be afraid to make small adjustments instead of switching between 10 different presets every week. Most players only need 2 to 3 custom presets for all their gameplay needs, and tweaking an existing preset to fit you is always better than starting from scratch every time you see a new preset shared online. Never download a preset that asks you to disable your game's anti-cheat to install it, as this can get you banned from online play even if the preset itself is harmless. Any legitimate preset will work with the game’s default anti-cheat enabled, no exceptions.
At the end of the day, the best part of where winds meet presets is that they let you tailor the game to exactly what you want out of it, whether that's smooth high-fps combat, cinematic exploration, or accessible settings that let you play without pain or frustration. You don't have to be a tech expert to use them, and even small adjustments to a pre-made preset can make a huge difference in how much you enjoy the game. Next time you log on, take 10 minutes to test out a preset that fits your playstyle, you might be shocked at how much time and frustration it saves you down the line.